
It is common to find ourselves in situations where we have to send documents with sensitive information by email, or share passwords via WhatsApp or Slack. The moment this sensitive information is sent, we give up the certainty that the information remains private. We may think that by using the HTTPS communication protocol we ensure that no one can capture the traffic and see the information, but the problem lies in the fact that it will be private as long as the company offering the service we use (Gmail, Slack , etc.) respects privacy or, putting us in a worse situation, all the data we store, including our private documents or passwords, is leaked.
To avoid possible problems, it is important to get into the habit of encrypting all this information so that only we and those we allow can read it.
FlowCrypt is a Google Chrome extension that allows us to send encrypted and signed e-mails. It makes use of PGP (“Prety Good Privacy”), a protocol that allows sending encrypted documents using asymmetric cryptography. We can add the tool directly to our browser from the official website.
Before going into detail on how to use this tool, we will explain how asymmetric cryptography works.
What is asymmetric cryptography?
In asymmetric cryptography, each user has a public key and a private key. The public key can be shared with anyone who wants to send encrypted data to you, but the private key should only be known to the user himself. If user A wants to send an encrypted email to user B, he will take user B‘s public key and use it to encrypt the message. This encrypted message can only be decrypted by B‘s private key, thus achieving privacy, since only B knows his private key and is the only user capable of decrypting the message.
An easy way to visualize this is to see the public key as if it were a padlock and the private key as if it were a key. Everyone will be able to take the padlock offered by B and use it to close the messages, but only B has the key to open this padlock and, therefore, the only one who will be able to read the messages.

Example of the use of asymmetric cryptography (1)
We don’t need to worry about encryption algorithms, as the FlowCrypt tool already handles it for us. A detailed guide on how to install, configure and make use of this tool will be explained below.
Installation Guide
1. Add extension
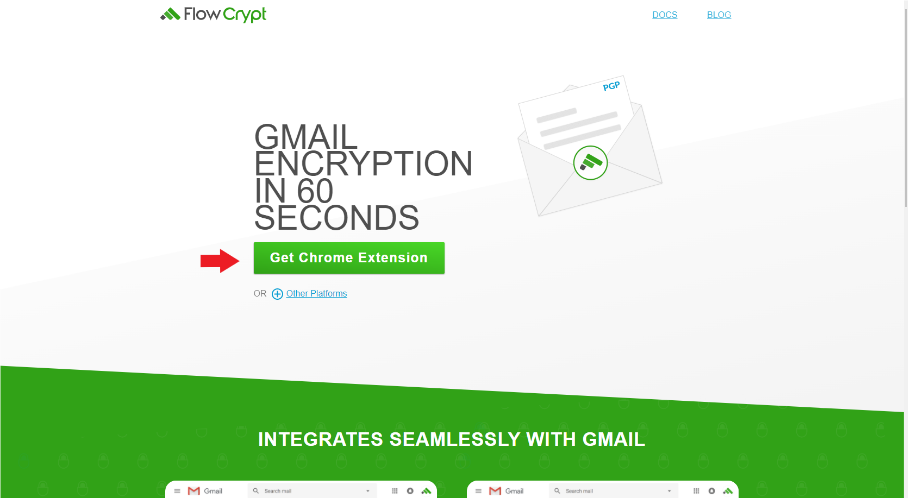
It is important to be using the Chrome browser. The first step is to go to the official website and download and add the extension directly to the browser by clicking the green button shown in the image.
FlowCrypt official website, Source: Own elaboration.
It will redirect us to the Chrome Web Store page, and there we must click on “Add to Chrome”. An alert will pop up asking for confirmation if we want to add the extension to our browser, which we must accept. A few seconds later we will have the extension. Next to the profile image of the Google session we will see the icons of the extensions we have installed in the browser where FlowCrypt should appear.

Browser extensions in which the FlowCrypt extension can be seen. Source: Own elaboration
2. Configuration
If we click on the icon or name of the extension, we will be redirected to a configuration page of the extension. The first step is to log in to the Google account we want to use FlowCrypt with and accept the permissions and conditions.
The next step is to generate our keys. As this is the first time we do this, we do not have any private key and we must generate a new one, we will choose the first option: New Encryption Key. In case we already have one, we would choose the other option.
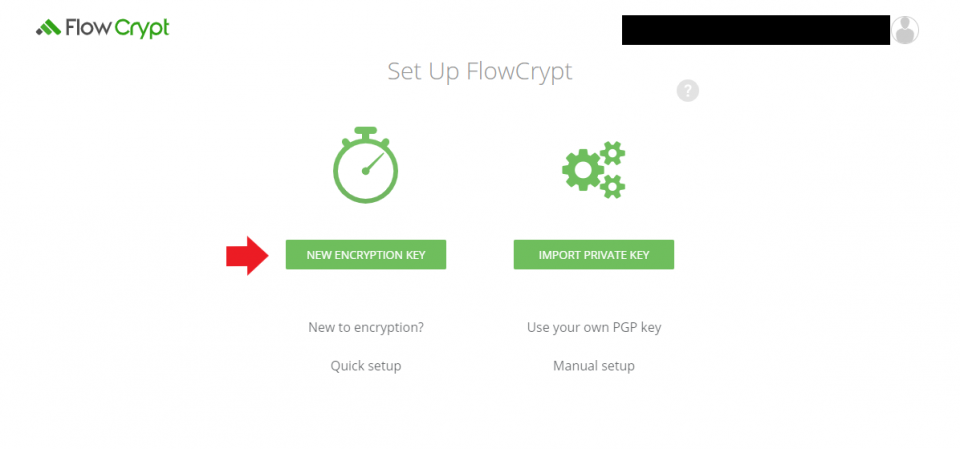

Selection menu after Log-in. Source: Own elaboration
Next you will have us create a pass phrase. It acts like a password, but it is intended to be as secure as possible, so a simple password like “passord123” will not be valid. I recommend using a password manager, such as Bitwarden or Keepass, to create and store passwords securely without having to remember them all. Do not activate the “Remember Pass Phrase” option and never save the password in an Excel, notepad, post-it…
The other two options are left enabled. The configuration should be as shown in the following image. It is worth mentioning that the last option allows us to choose what type of password we want to use. Of the four offered, RSA 2048 is the one we recommend the least, as it is the shortest and the easiest to find compared to the other keys offered.
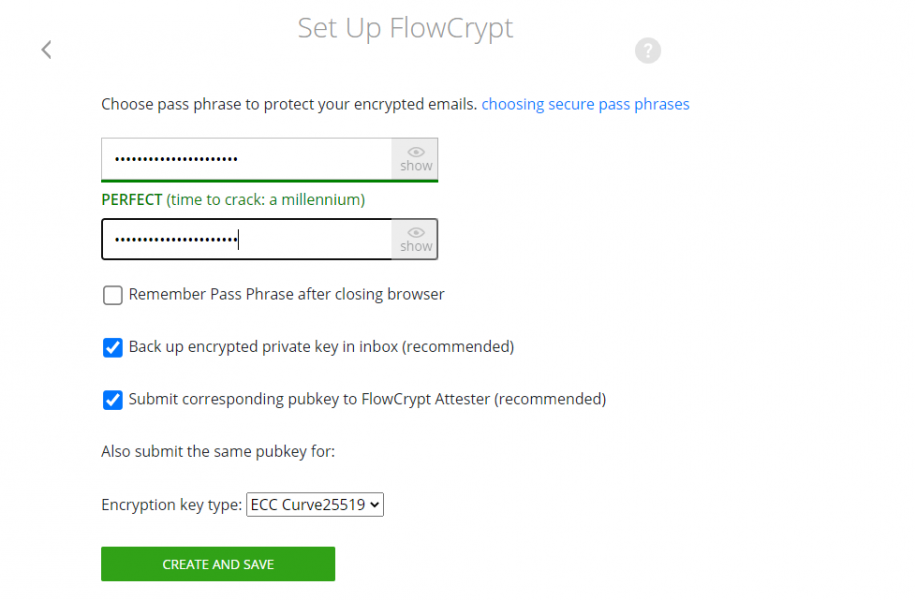
Encryption-key generation and configuration. Source: Own elaboration
We must not confuse this pass phrase with our private key. The pass phrase is simply a password to verify in the extension that it is us and not someone who wants to impersonate us using our private key.
To check that everything has been done correctly, if we go to our Gmail we can see that on the “Compose” option there is a new option “Secure Compose” with the FlowCrypt logo. We will also have received two emails, one with information and the other with a backup of our private key.
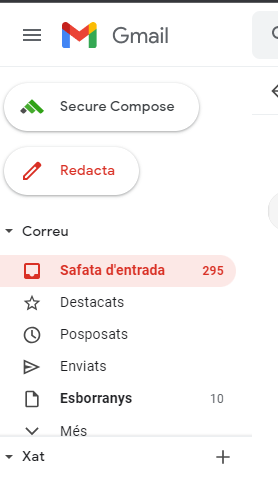
New option to send mail in Gmail. Source: Own elaboration
3. Sharing the public key
When creating an account, a public and private key has already been generated, we do not have to worry about using them to encrypt anything, all this is already done by the application. But if someone wants to send us an encrypted message, they will need our public key. To find it, go back to the FlowCrypt extension settings. You will see a drop-down menu and click on the gear that indicates configuration. A window like the one shown in the image will appear. Go to Additional Settings

Configuration menu. Source: Own elaboration
A window similar to the previous one will appear, but with new options. We will go to the first one, where it says Public Key. There we will be able to see our public and private key, but we are only interested in sharing the public one. We can see that there are several options. We can download it in a file and send the file, copy and paste it to the clipboard, or share the link they propose us. Don’t worry about sending this key by any unsecured communication channel, you are only sharing the public key, which as the name indicates, it’s okay, everyone can see it.
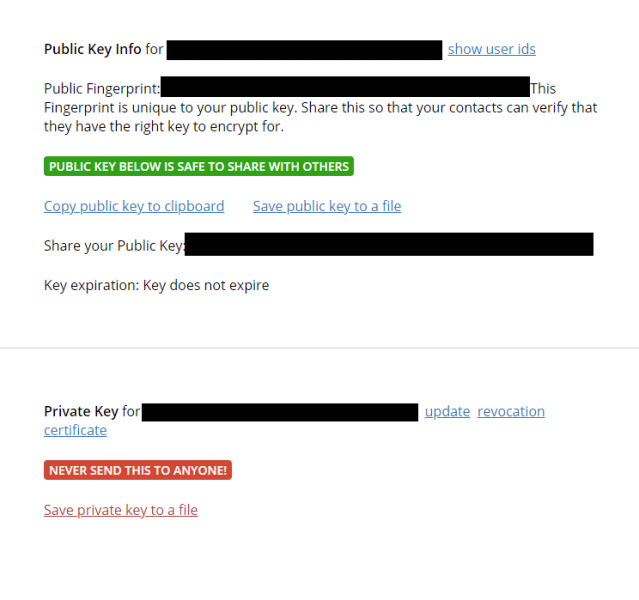
Menu for copying and saving public and private keys. Source: Own elaboration
4. Import public key
In case we want to send an encrypted message to another user, we will need his public key first. We will assume that this user has already sent us his public key in a previous email. To import their key, we will go back to the Additional Settings. Once there, we will go to Contacts and then to import public key. We will see a space where we can attach the public key that we have received. Click on Show Content and if the key is correct, we will see the Gmail corresponding to that key. Once we confirm, we will be able to send encrypted emails to that email address.
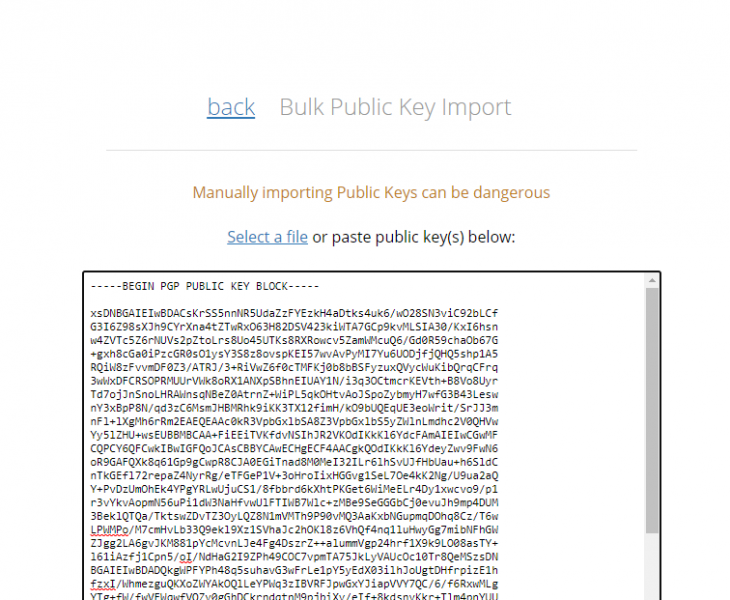
Menu that allows importing public keys from other users. Source: own elaboration.
Once we have reached this point, we already have all the necessary configuration to use the tool correctly. We will have to import all the public keys of everyone with whom we want to exchange encrypted information.
Encrypt and sign messages
Sending encrypted messages is just as easy as sending normal messages. Go to Gmail and instead of clicking on “Compose”, click on “Secure Compose”. You will see an interface for composing an email very similar to the normal one, but with a green color. To perform the test, we will send an email to two users, one of whom we do not have his public key. The Gmails for which we do not have the public key will be grayed out, while the others will be green. We cannot send this email, since we cannot encrypt the message for one of the recipients. FlowCrypt offers the functionality to add a password, so the message will be encrypted with this password and the user (whose public key is not available) will also need it to read the message.
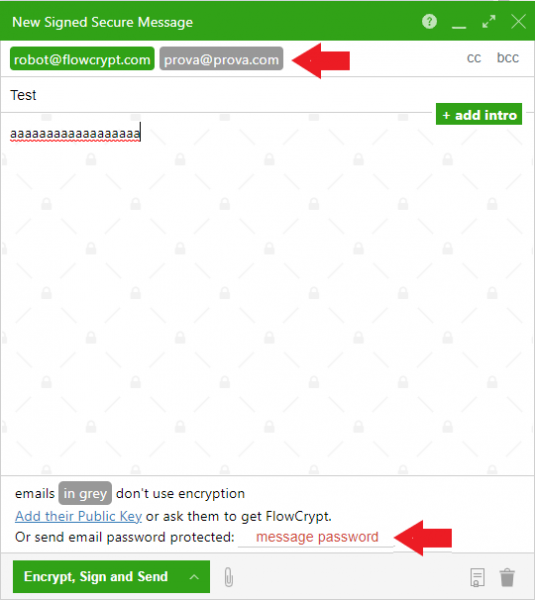
Example of encrypted mail in which we do not have a recipient’s public key. Source: Own elaboration.
If instead of encrypting the email, we only want to sign it, we must click on the drop-down menu where it says “Encrypt, Sign and Send” and select only “Sign” (deselecting the Encrypt). We can see that we can send signed messages to users whose public key we do not have.
Signing an e-mail will not encrypt its contents, but it will allow the recipients to confirm that we are the owners of that signature and, therefore, also of that e-mail.
Finally, e-mails that we receive and are encrypted will be automatically decrypted as long as we are logged in to the extension (by entering our pass-phrase), otherwise, three dots will appear indicating that we cannot read their contents.
Bibliography
- (1) https://en.wikipedia.org/wiki/User:Davidgothberg#/media/File:Public_key_signing.svg